LUT Playground
All 35 LUTs in the library on the same frame — one of ours, or your own. Drag the split, step through the list, pin one to compare two looks side by side, and read the result on a waveform. Everything runs on your graphics card; your frame never leaves the browser.
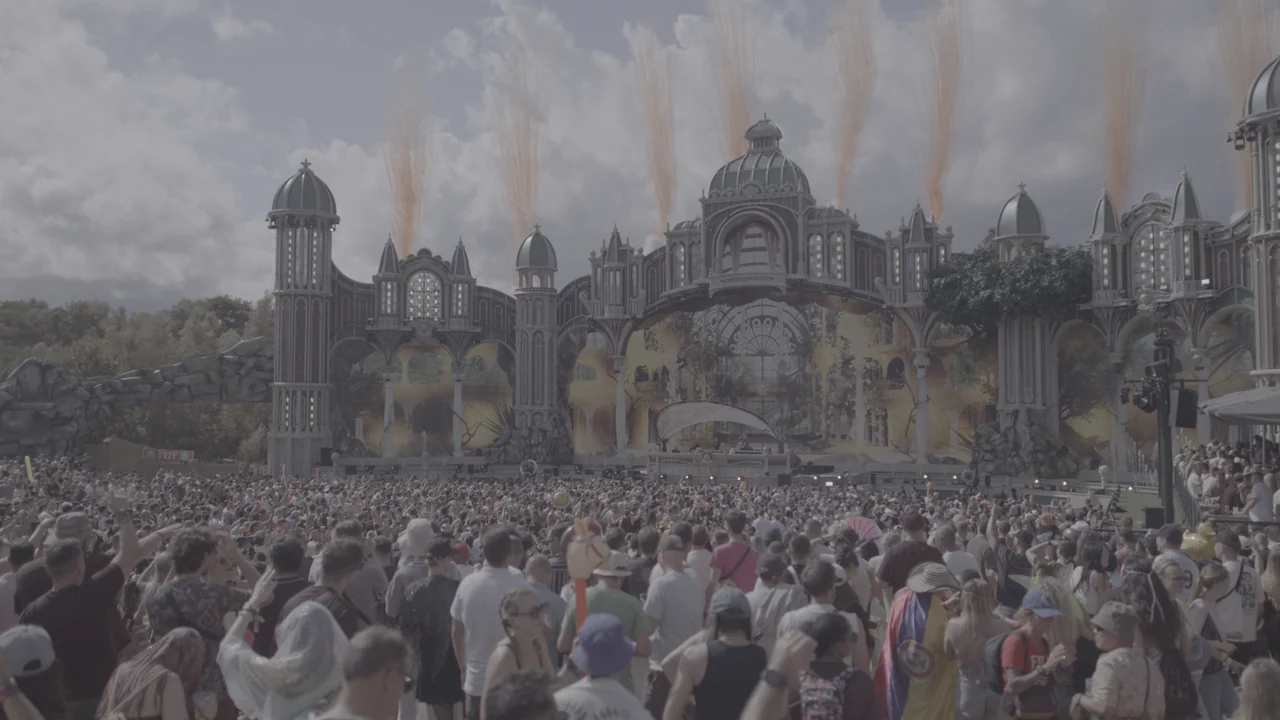
Now showing
- Clipped
- —
- Crushed
- —
- Average luma
- —
What the playground does
It applies the LUT file itself. The .cube behind the selected entry is
downloaded, read into a three-dimensional texture on your graphics card, and every pixel of
the frame is looked up in it with trilinear interpolation between the lattice points the
file declares. Nothing about the look is approximated with contrast or saturation sliders,
and the colour transform in front of the LUT is the same code the preview on every
LUT page runs.
What changes between the two is the frame. On a LUT's own page you see that one LUT; here the whole library sits on the frame you choose, so the useful question stops being "is this look nice" and becomes "which of these suits this shot".
The split, and what sits either side of it
Right of the handle is always the frame through the selected LUT. Left of it is your choice:
- As shot — the frame exactly as it was recorded: for log footage, flat and desaturated. The dramatic before-and-after, and the least useful one for choosing a look.
- Rec.709 — the frame converted from its log format to Rec.709 by this site's own transform, with no look applied. This is the fair comparison for a creative LUT, because the creative looks here are built for Rec.709 input and are fed exactly this image. What changes across the split is then the look, and nothing else.
- Pinned — a second LUT. Pin one, keep stepping through the list, and the split compares two looks on identical input.
Drag the handle, or focus the frame and use the arrow keys. In the list, the up and down arrows step through the library, and the view follows.
Why the playground asks what your frame is
A creative LUT expects a normalised Rec.709 picture, and a log frame is not one: the curve that lets a camera hold a festival's highlights also lifts its shadows and parks middle grey somewhere different on every format. Feed a look raw log and most of the frame sits below the point its contrast curve pivots on, so it only ever crushes. So in front of any creative LUT the playground decodes the frame from the format you name, rotates its colour gamut into Rec.709 and applies the display curve. Two kinds of LUT do that job themselves and are handed the frame untouched: the log to Rec.709 conversions, and the looks marked as built directly on S-Log3 or C-Log3. Either only means anything on footage from the camera it was built for. The line under the LUT's name says which route it took.
Where 18% grey lands in each format the transform understands, and how many stops of scene brightness the curve holds above it before it runs out of code values — computed from the same library the GPU runs:
| Format | 18% grey lands at | Stops above grey |
|---|---|---|
| Sony S-Log3 | 41.06% | 7.74 |
| Canon C-Log3 | 33.10% | 6.50 |
| Panasonic V-Log | 42.33% | 8.00 |
| ARRI LogC3 | 39.10% | 8.26 |
| RED Log3G10 | 33.33% | 10.00 |
| Apple Log | 48.83% | 6.06 |
| Blackmagic Film Gen5 † | 38.36% | 10.27 |
| DJI D-Log M † | 39.88% | 7.87 |
† Published curves, less consistently documented than the rest; both are still due a side-by-side against a DaVinci Resolve transform. The S-Log3, C-Log3, Apple Log and Log3G10 guides in the Academy work through what these numbers mean for exposure.
Reading the scopes
The scopes measure the picture on screen, so they answer the questions a look raises: did it clip the highlights, did it crush the shadows, did it move the average.
- Waveform — every column of the scope is the matching column of the frame, and height is brightness, from 0 at the bottom to 100 at the top. Brightness here is Rec.709 luma, 0.2126 of red plus 0.7152 of green plus 0.0722 of blue. A trace flattened against 100 is highlight detail the look has thrown away; one flattened against 0 is shadow detail gone the same way.
- Parade — the same measurement for red, green and blue side by side. A neutral subject puts the three at the same height; a look that tints the highlights lifts one channel's top above the others, which is easier to see here than in the picture.
- Histogram — how many pixels sit at each level, per channel. It loses where in the frame they are, and gains a clear view of how the look redistributes tones.
The three figures under the scope are counted from the same pixels: clipped is the share with at least one channel at the top code value, crushed the share with at least one at zero, and average luma the mean on the 0–100 scale. The scale is the full 8-bit code range, 0 for code 0 and 100 for code 255, which is the same percent-of-code scale the Academy quotes exposure targets on.
Two limits worth knowing. The scopes read an 8-bit, downsampled copy of the preview, so they are for comparing looks, not for judging a camera file's true headroom. And Left side measures whatever is left of the split — the frame as shot, the plain conversion, or the pinned LUT — which is how you put a number on what a look changed.
Strength
A LUT is a fixed mapping with no strength setting of its own, so the only honest way to soften one is to blend its output back toward the image that went into it. That is what the strength slider does, per channel, on the display-space picture: 100% is the LUT as it was built, 0% is its input. It is the same operation your editor offers under a different name in each application — the Academy's guide to installing and applying LUTs lists where each one keeps it. Finding the strength you like here tells you what to set there.
Trying it on your own frame
Export a still from your footage before any LUT or conversion is applied, so the file is in the log format the camera recorded, then drop it on the frame or choose Your frame. JPEG, PNG and WebP all work, up to 25 MB, in any aspect ratio. The file is read straight into your graphics card's memory and is never uploaded, stored or seen by anyone else.
Then tell the playground what it is. A dropped frame starts as Rec.709, because most images dropped into a browser are ordinary photos, and a photo run through a log conversion looks broken. If yours is log, pick the camera format and the conversion in front of the look switches to match.
What it is not
It is a preview. The picture is 8-bit, one frame, without the noise, motion and compression of the clip it came from, and a look that survives here can still band on a smooth sky once it is encoded for delivery. The reference frames are four stills from a daytime festival, shot in RED Log3G10; night and club work are better judged on a frame of your own. Grade for delivery in your editor; use this to decide what to grade with.