Free LUTs for DaVinci Resolve
35 free LUTs for concert, rave and festival footage, all of which load in DaVinci Resolve. Resolve is node-based, so a LUT is not just a file you load — it is a node in a chain, and where you put it in that chain decides whether it works.
Installing a LUT in DaVinci Resolve
- Open Project Settings (the gear, bottom right, or Shift+9) and go to Color Management.
- Scroll to Lookup Tables and click Open LUT Folder. Drop the .cube in — a named subfolder is fine and keeps the browser tidy.
- Back in Resolve, click Update Lists. The LUT now appears in the LUT browser on the Color page and in the right-click menu on any node.
Which slot to use
We ship two kinds of LUT and DaVinci Resolve has a place for each. A conversion LUT is technical — it puts log footage into Rec.709 correctly. A creative LUT is a look, and expects footage that is already in Rec.709. Correct, convert, then look.
- A conversion LUT goes on the conversion node — after your primary correction on the log image, before the creative look. It is doing the same job a Color Space Transform does.
- A creative look goes on its own node after the conversion and after your primary correction.
If the look is too strong
Turn down Key → Output Gain on the node carrying the LUT. That blends the node with what came into it, which is the only honest way to soften a fixed mapping.
The node order that actually works
Node 1 — primary exposure and white balance, on the native log image. Node 2 — Color Space Transform, or one of our conversion LUTs. Node 3 — the creative look.
Correct before you convert. The Offset wheel only behaves like a real exposure adjustment on log data, and once the transform has squeezed your highlights into Rec.709’s much smaller range, pulling exposure down afterwards drags that compressed block down as a whole rather than recovering detail. The fuller professional version is the “sandwich”: convert into DaVinci Wide Gamut / Intermediate, grade there, convert out to Rec.709, then apply the look.
For blown stage lighting, set the transform’s Gamut Mapping Method to Saturation Compression and use Saturation Knee to place the roll-off. LED and laser spikes are out-of-gamut saturation rather than simple over-exposure. (Highlight Recovery is a different control — it lives in the Camera RAW tab and only applies to RAW formats.)
Newest LUTs for DaVinci Resolve
All 35 work in DaVinci Resolve — these are the twelve most recent
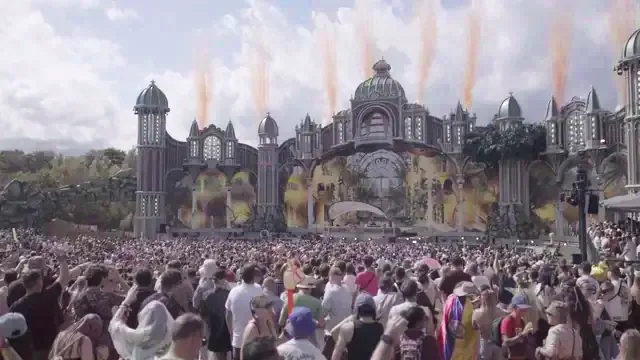
Sony S-Log3 → Rec.709
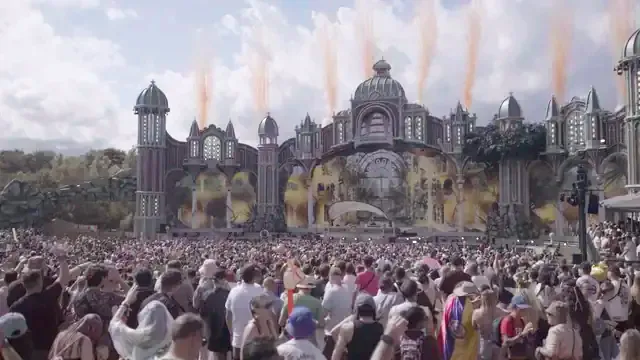
Canon C-Log3 → Rec.709
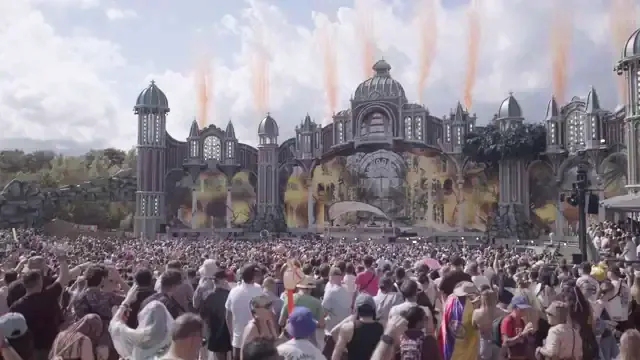
Apple Log → Rec.709
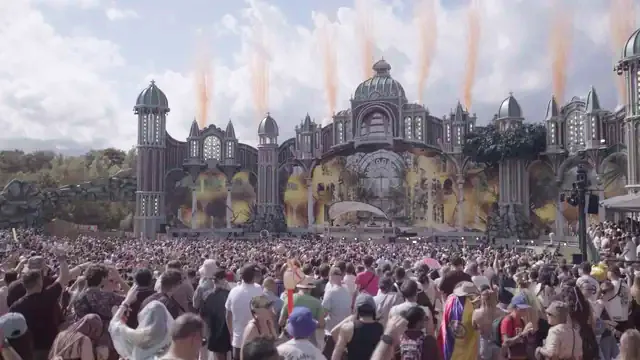
RED Log3G10 → Rec.709
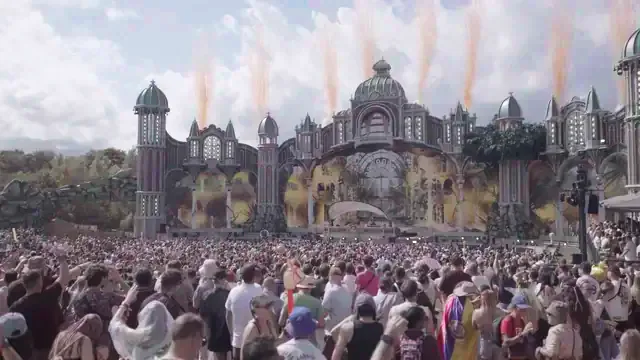
Panasonic V-Log → Rec.709
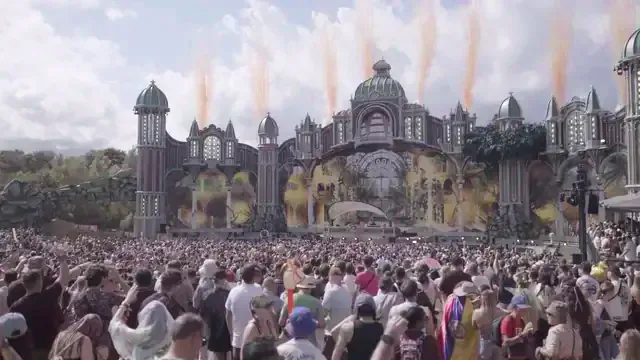
ARRI LogC3 → Rec.709
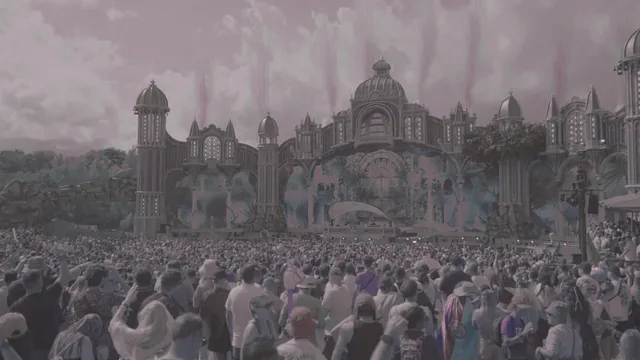
Mystic Field Magic Haze
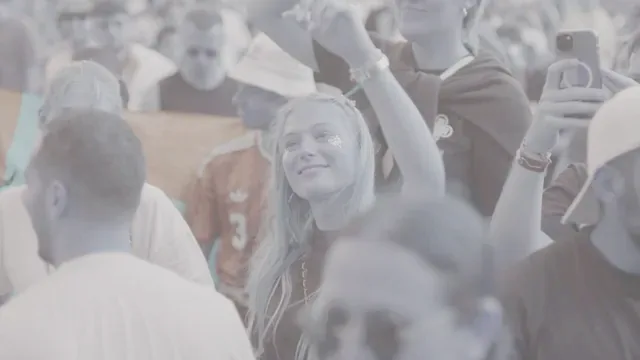
Sony S-Log3 Golden Stage Grade
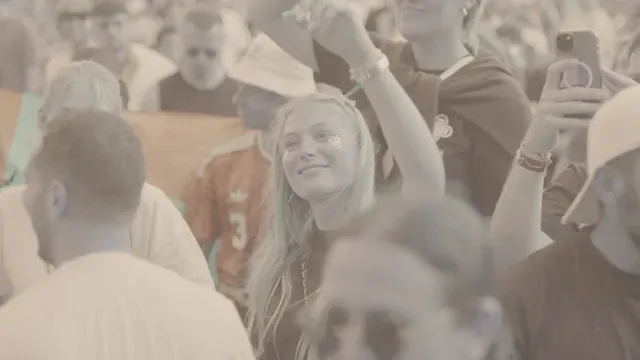
Canon C-Log3 Ember Stage Grade
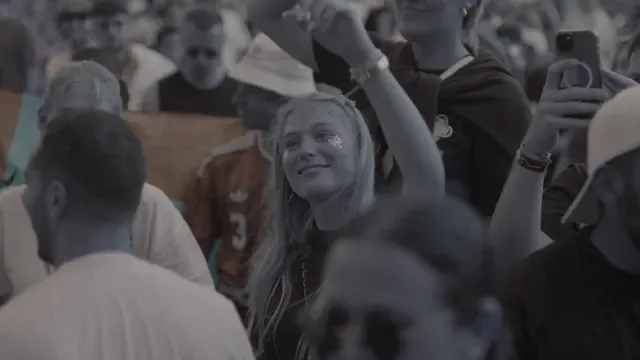
D-Cinelike FPV Drone Chaser
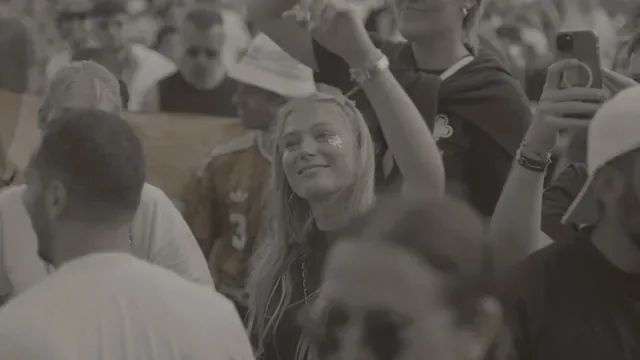
Warm 400 Film Standard