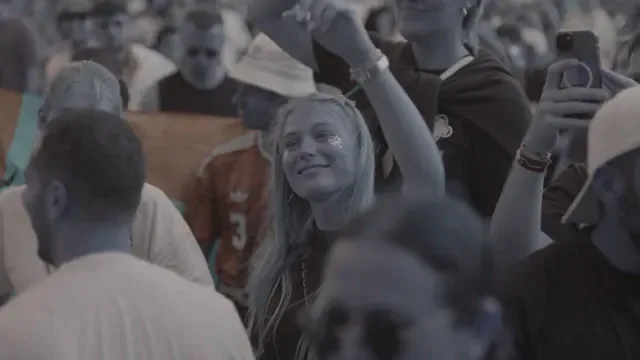
Free LUTs for Premiere Pro
35 free LUTs for concert, rave and festival footage, all of which load in Premiere Pro. Premiere has two LUT slots in Lumetri and they are not interchangeable. Picking the wrong one is the most common reason a LUT looks wrong here.
Installing a LUT in Premiere Pro
- There is no install step — Lumetri reads the file straight off disk, so keep your .cube somewhere you will not move it.
- Select the clip and open Lumetri Color.
- For a conversion: Basic Correction → Input LUT → Browse. For a look: Creative → Look → Browse.
Which slot to use
We ship two kinds of LUT and Premiere Pro has a place for each. A conversion LUT is technical — it puts log footage into Rec.709 correctly. A creative LUT is a look, and expects footage that is already in Rec.709. Correct, convert, then look.
- Input LUT (Basic Correction) is the technical slot. It normalises log footage, and Lumetri applies it before the Basic Correction sliders — so in Premiere the conversion happens ahead of your exposure and white balance, whether you want it to or not.
- Look (Creative) is the stylistic slot, applied after your corrections. Put a creative LUT here.
If the look is too strong
Use the Intensity slider directly under the Look dropdown in the Creative panel.
Why this differs from the Resolve advice
Our Resolve page says to correct exposure on the log image before converting, because the Offset wheel only behaves like a real exposure adjustment on log data. Premiere's Input LUT slot does not offer that order — it sits ahead of Basic Correction by design, so the conversion always lands first.
If you want the log-first correction, stack two Lumetri instances on the clip: correct in the first, put the conversion in the second's Input LUT, and the creative look in its Creative panel. For most concert footage the single-instance order is fine — it matters most when you are recovering a badly exposed shot, which is exactly when the highlights you need are the ones the conversion has already compressed.
Newest LUTs for Premiere Pro
All 35 work in Premiere Pro — these are the twelve most recent
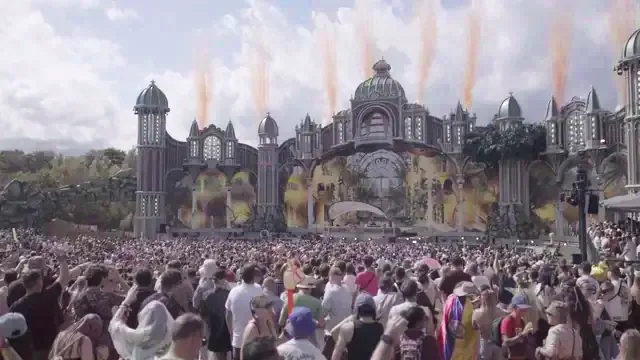
Sony S-Log3 → Rec.709
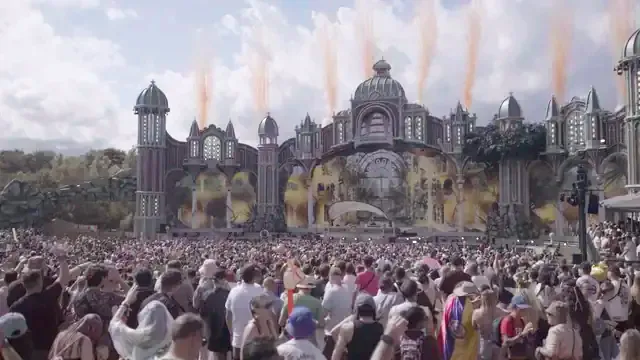
Canon C-Log3 → Rec.709
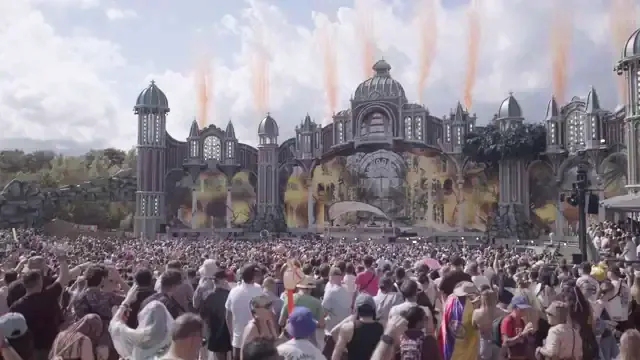
Apple Log → Rec.709
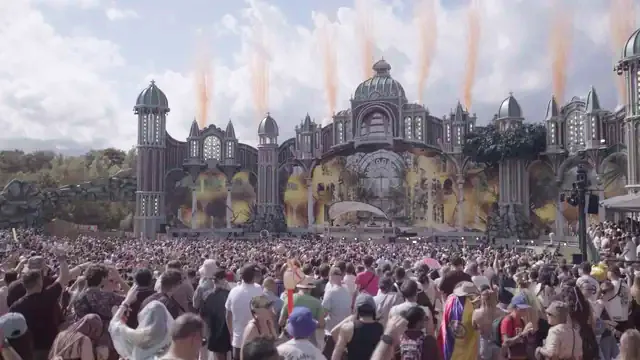
RED Log3G10 → Rec.709
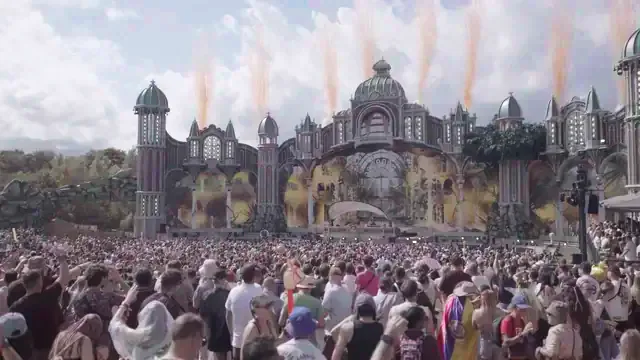
Panasonic V-Log → Rec.709
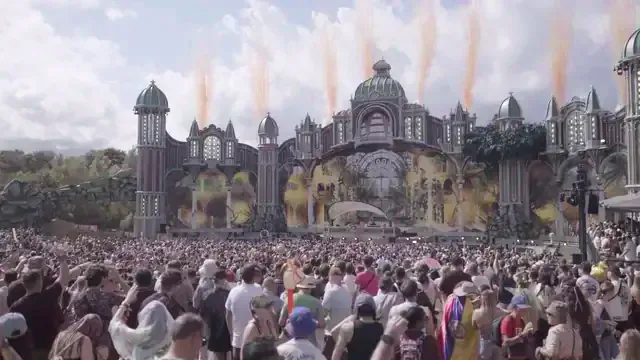
ARRI LogC3 → Rec.709
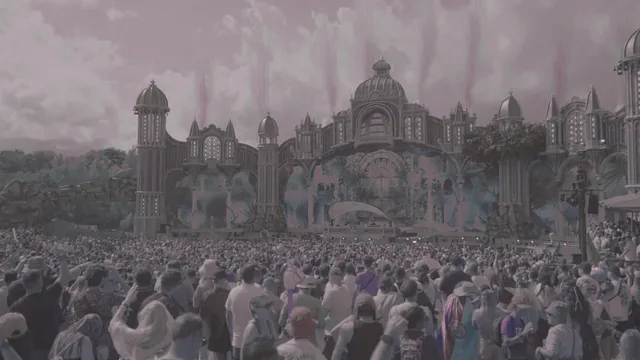
Mystic Field Magic Haze
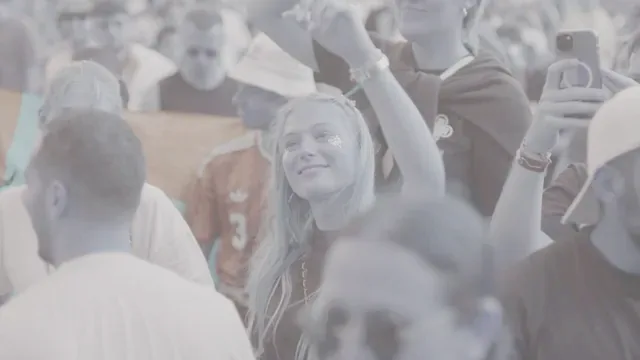
Sony S-Log3 Golden Stage Grade
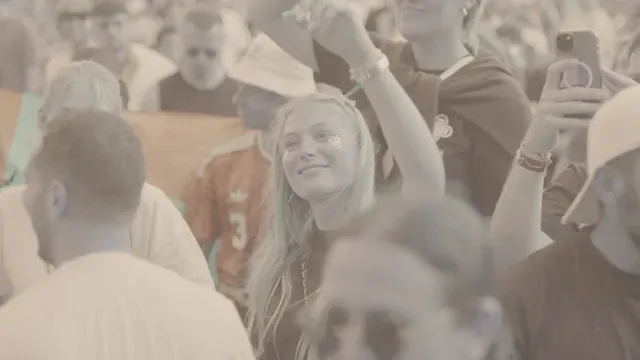
Canon C-Log3 Ember Stage Grade
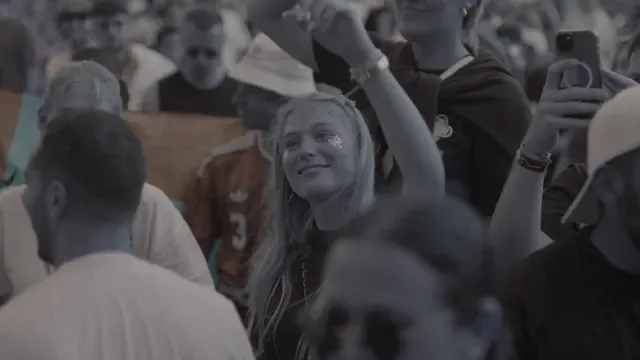
D-Cinelike FPV Drone Chaser
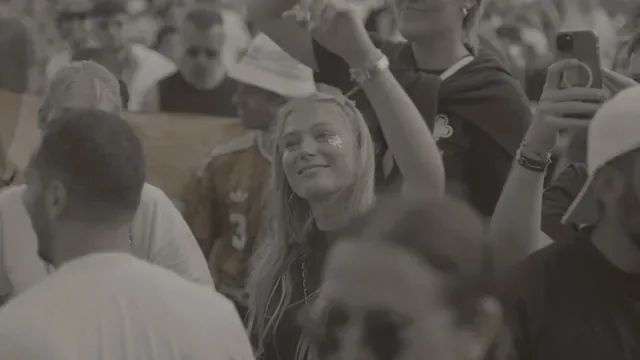
Warm 400 Film Standard