Free LUTs for Lightroom
35 free festival, concert and rave LUTs. Lightroom will not load a .cube directly — it reads .xmp camera profiles. Converting one is a short, one-time job in Photoshop’s Camera Raw, and after that the look sits in your Profile browser like any Adobe profile.
Installing a LUT in Lightroom
- In Photoshop, open any image and choose Filter → Camera Raw Filter.
- Hold Option (macOS) or Alt (Windows) and click the triple-dot icon on the far right, then Create Profile.
- Pick Color Lookup Table at the bottom, choose the .cube, give the profile a Name and a Group, and click OK.
- Lightroom Classic: restart it — profiles are read from the Camera Raw settings folder on launch. Lightroom (cloud): Edit → Profile browser → the grid icon → triple-dot menu → Import Profiles, and point it at that folder.
The conversion accepts .cube. The resulting profile is an .xmp, stored in the Camera Raw settings folder — <code>~/Library/Application Support/Adobe/CameraRaw/Settings</code> on macOS, <code>%APPDATA%\Adobe\CameraRaw\Settings</code> on Windows.
Which slot to use
We ship two kinds of LUT and Lightroom has a place for each. A conversion LUT is technical — it puts log footage into Rec.709 correctly. A creative LUT is a look, and expects footage that is already in Rec.709. Correct, convert, then look.
- A profile is where a converted LUT lands. It sits at the base of the edit, beneath every slider, so you can grade on top of it without fighting it.
- A preset is a saved set of slider positions and is not the same thing — a LUT becomes a profile, never a preset.
If the look is too strong
Once the profile is selected, use its Amount slider in the Profile browser. That is the direct equivalent of layer opacity in Photoshop or Mix in Final Cut.
Convert the looks, not the conversions
Use the creative looks here. The log to Rec.709 conversions expect log video; a raw photo Lightroom has already demosaiced and tone-mapped is not that, so converting one into a profile gives you a transform undoing a curve that was never applied.
Worth knowing before you convert twenty of them: Camera Raw creates profiles one at a time, so pick the handful you actually reach for rather than the whole catalogue.
Newest LUTs for Lightroom
The twelve most recent — see the note above on using them in Lightroom
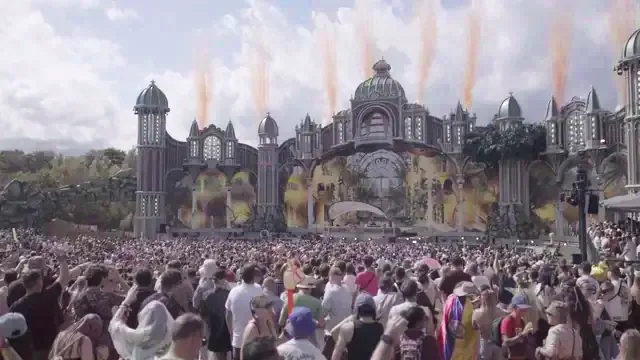
Sony S-Log3 → Rec.709

Canon C-Log3 → Rec.709

Apple Log → Rec.709
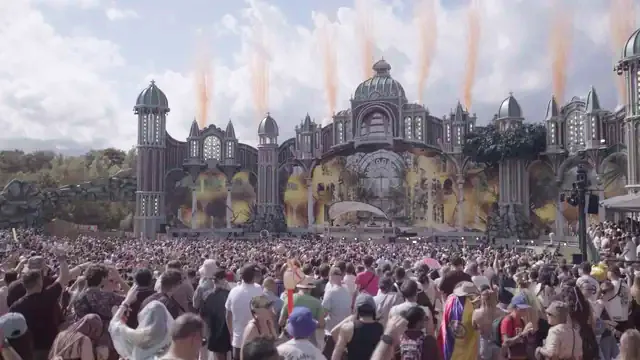
RED Log3G10 → Rec.709
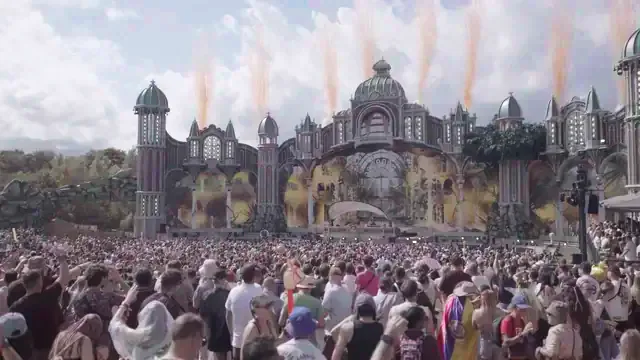
Panasonic V-Log → Rec.709

ARRI LogC3 → Rec.709

Mystic Field Magic Haze

Sony S-Log3 Golden Stage Grade

Canon C-Log3 Ember Stage Grade

D-Cinelike FPV Drone Chaser

Warm 400 Film Standard